How to Edit YouTube Videos to Increase Ranking Growth: Beginner’s Guide
Have a look at this detailed guide about editing YouTube videos to increase ranking growth. Take advantage of proven tips and learn how to attract more visitors and subscribers.
.jpg)
YouTube is probably the first place people visit when they are looking for video content. Currently, the platform has over a billion users and there has been a 50% growth in viewing time for the past 3 years. So, if you are striving to reach more people, you can’t do without a good video.
According to the study by Hippo Video, 58% of viewed videos have been edited before they appear on YouTube. However, not everybody can derive benefit from this resource, as many barely understand how to edit YouTube videos to increase ranking growth. This post is devoted to the topic, and contains useful tips on video editing, keeping brand development in mind.
1. Make Eye-Catching Thumbnails and Titles
YouTube video optimization usually starts with making a catchy custom thumbnail. This is crucial, as 90% of popular videos have it. With the help of a thumbnail, you can eminently increase engagement and make your YouTube channel more profitable.
Here are simple recommendations you need to keep in mind to create click-compelling thumbnails:
- Create a thumbnail that is distinct. This element of a video is needed to set expectations and entice viewers to click the “Play” button and watch a whole video.
- Adding your logo or any relevant text can have a positive effect. Thus, you’ll create a thumbnail that will stand out from the crowd and immediately intrigue people seeing it.
- Remember YouTube’s recommendations for a thumbnail resolution – 1280x720 (the minimum width is 640 pixels).
- While editing a picture, you need to constantly zoom in and out to make a thumbnail that looks great on all devices.
- Every video has a title. A good rule of thumb is to keep it short and precise. In fact, a title is like a brief summary of what is described in a video.
2. Impress with Your Intro
An intro can either make or break your whole optimization game, so you should be very attentive. In fact, the best intro lasts from 3 to 5 seconds, as this is the amount of time you have to intrigue viewers.
Make sure to embellish your intro with pops of colors, interesting animations, and video clips to keep viewers fully concentrated on what is displayed. You can also add “like”, “comment”, “share”, and “subscribe” icons at the end of your video to encourage the audience to take action.
3. Add a Transition Between Intro and Body
When you edit YouTube videos to increase ranking growth, you need to remember the power of storytelling all the time, as everything revolves around it. Adding a short transition or animation between an intro and the main pair is a great trick, which does wonders with retaining viewers’ excitement. You can also add a text, giving some hints of what will be shown next.
4. Add a Beautiful B-Roll at the Start of the Video
The narration of a video is paramount, as it allows building and preserving excitement. The easiest way to create narration is to make a b-roll by selecting the most captivating pictures from a clip. Keep in mind that you need to enhance b-roll shots before posting them. Vizeedy is perfectly suitable for the task and even contains a stock library of images that you can use. Make sure the quality of b-rolls matches the original video resolution.
A good b-roll shot lasts approximately 10-15 seconds if you are editing a short video. For slow-paced and film-style videos, you can make it longer (60 seconds).
You can go even further and complement b-rolls with animations and sketching effects. This adds special vibes to a video and improves the watch time. In addition to b-roll shots, you can experiment with time-lapse pieces and insert appropriate background music.
5. Make Sure You Have Good Lighting and Background Noise Levels
Lighting has a tremendous impact on video quality. Of course, if you are recording outdoors on a sunny day, you should totally rely on natural lighting. If it is gloomy or dark on the shooting spot, you have to employ an artificial light source.
As for background sounds, you’d better find a place where they are minimal. A neighbor’s dog barking or a queue of cars moving along the road can drastically affect your footage. Think about your viewers – they definitely want to watch a pro-level video.
6. Use the Rule of Thirds
The rule of thirds is an eternal principle that allows recording professional footage and taking great images. You need to visually split a video into thirds by “drawing” lines and film a subject at intersections. For instance, a person delivering info may stand in one of the side panels of the split frame.
When you record according to this method, you’ll have the key elements of a frame placed at the intersection locations and get a video that is easier to grasp. Make sure that the horizon line is either at the top or bottom horizontal stripes.
7. Cut Out Anything That’s Unnecessary

YouTube tends to favor videos that last 10 and more minutes, so you may feel tempted to increase the length of your clip aiming for longer runtime. But this may bring disappointing results.
The main thing here is not the duration of a video but the info presented in it. So, you need to keep your clips as informative as possible without beating around the bush. People quickly understand if a particular video can satisfy their query and if you try to deceive them by promising much, but delivering nothing relevant, they will never return to your channel. Remember that including wordy pieces can take a heavy toll on your reputation.
If the main scene doesn’t look great, you’d better re-film it rather than leave everything unchanged. Besides, you can apply voiceover to cut down the disturbing audio and provide viewers with a better context.
8. Add Background Music to Your Videos
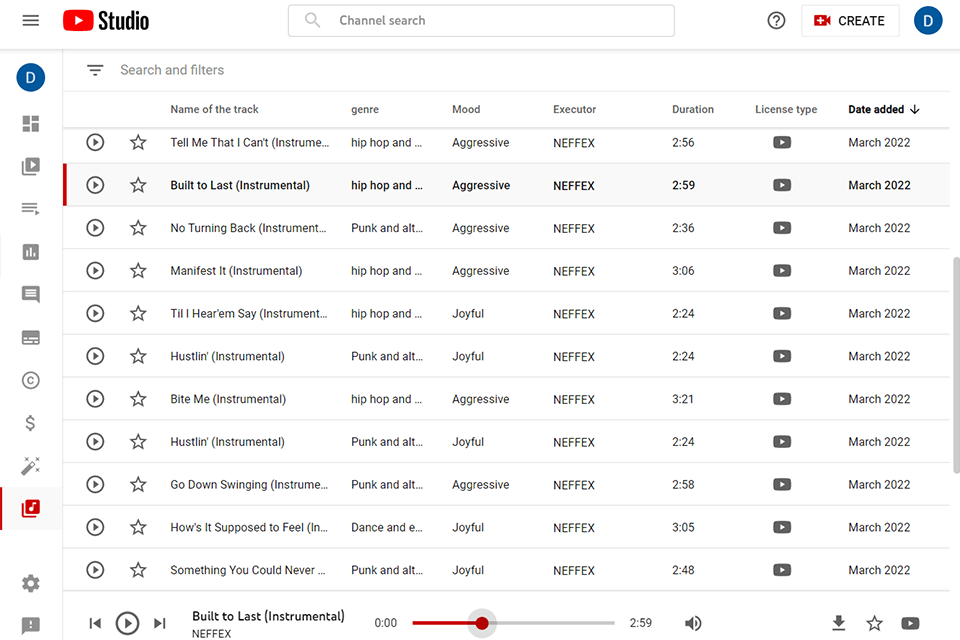
Almost all videos you see on YouTube have background music. It is necessary for keeping people interested and filling awkward silences that may annoy the audience.
If you don’t feel like recording your own audio, you can use stock libraries and find suitable music there. For example, you can subscribe to Audio Jungle, a popular online service, or use an online editor such as Flixier that has an integrated collection of free stock audio tracks.
It is obligatory to adjust the volume of added background music so that it doesn’t overpower your voiceover. You need to find a reasonable level for each video and resort to an equalizer for toning down frequencies between 125Hz and 4000Hz (the range that overlaps with human voice).
The most popular platforms and stock audio libraries are Fugue, Pond, Freesound Library, and AudioJungle. The variety of audio editing instruments is also extensive. You can use Audacity and similar programs.
9. Include High-Quality Gifs and Images
SEO for YouTube has several cornerstones that are all related to how captivating and relevant your videos are. In order to give your clips a special appeal, you can add images and GIFs to them. Undoubtedly, YouTube content covers all types of notions and phenomena, and some of them are really difficult to explain. Anyway, it is your primary task to present complex info in a straightforward manner, and all visual elements included in a video should serve this purpose.
You can use an online graph maker to create unique statistical graphs and help your viewers grasp the info. Besides, there are lots of high-quality resources with free images and GIFs that you can look through and choose appropriate elements for your videos. We recommend starting your search with Moose, Pexels, and Unsplash.
10. Optimize Your Video
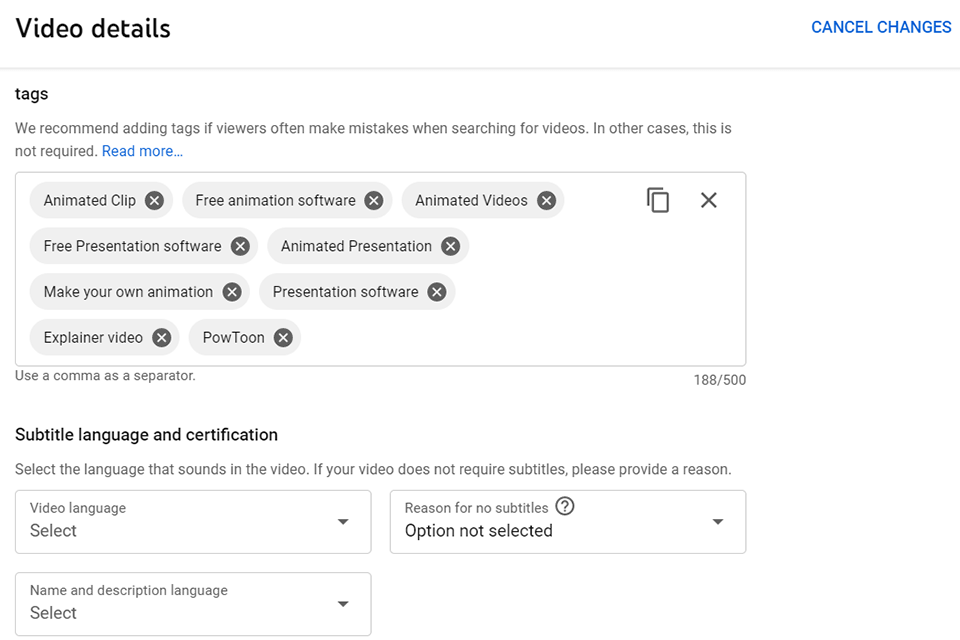
YouTube video optimization is the step you can’t skip if you are all about monetizing your activity. You should always start with keyword research to make your marketing efforts bring the desired result. It makes sense to add keywords to a keyword planner to determine the search volume and competition. Thus, you can better satisfy clients’ demands.
Once the research stage is successfully completed, you need to use the selected keywords. Moderation won’t do the trick in this case, so you should add keywords to virtually everything – file name, title, description, tags, etc. Experts claim that a YouTube video description should be at least 200 words long, while 300-350 words are the best fit.
Similar to the titles, YouTube recommends users insert the main keyword at the beginning of the description. You can use the following tools to choose working keywords and do everything in accordance with current trends – Google Trends, Google Keyword Planner, YouTube autocomplete, Rank Tracker, AnswerThePublic, Keyword Planner, etc.
Third-Party Apps for More Advanced Video Editing
You should also take advantage of learning resources. Some websites contain free video editing courses and tutorials, which you can use to figure out how to edit YouTube videos to increase ranking growth. The most visited sites are Lynda, Digital Tutors, YouTube’s Creator Academy, and Udemy.

.jpg)
